

Travel planning
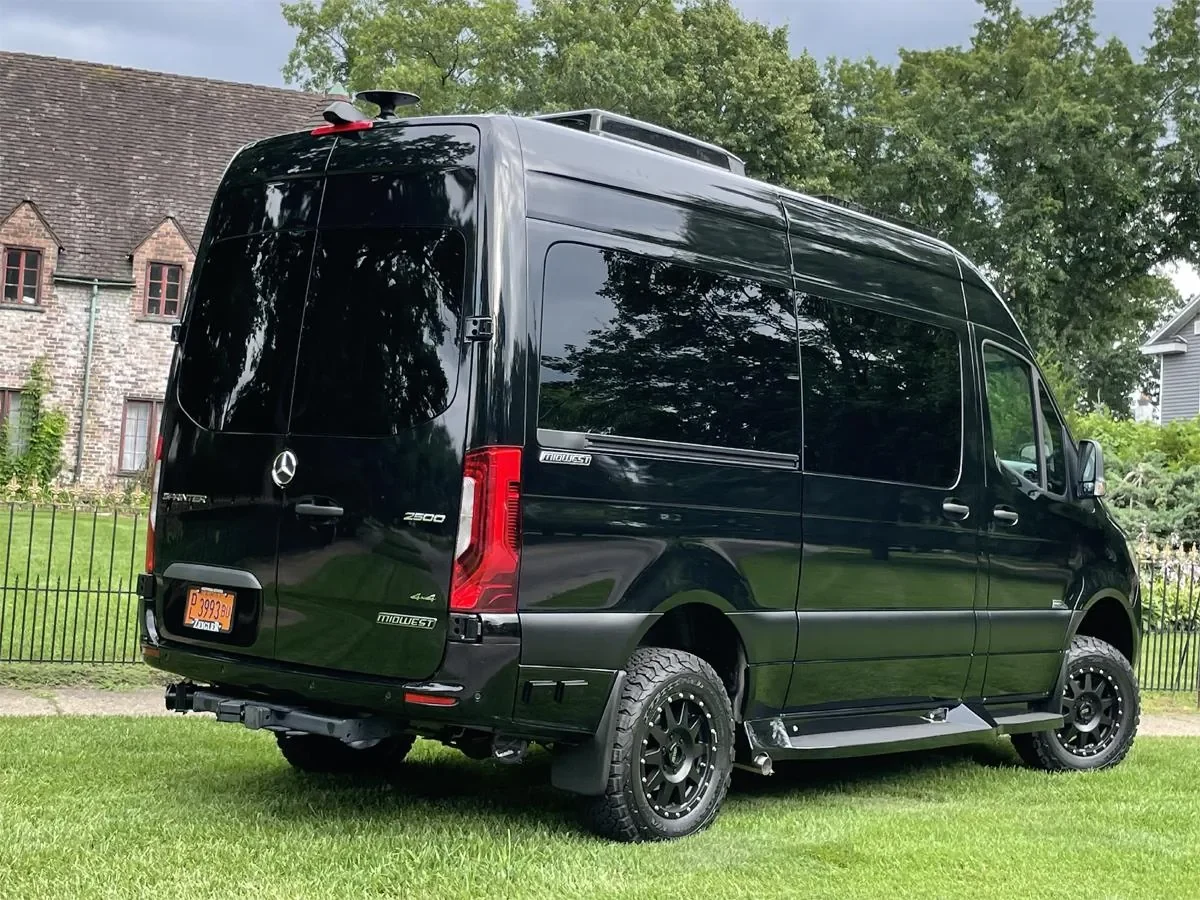
A hitch bike rack can keep bicycles out of a Sprinter's living area, but fitting the receiver is only the first check. The rack also has to suit the completed van, the actual bikes and the way you use the rear doors.
Before buying a carrier, bring the vehicle details and bicycle measurements to the rack supplier or installer. Ask for a fit demonstration with your load, not just an empty rack attached to a similar van. The differences become clear when you try to reach the luggage.
Identify the whole carrying arrangement
Record the receiver's manufacturer, size and rating, plus any installed step, spare-wheel carrier or other rear accessory. Include the vehicle's own load limits and conversion documentation. If an adapter, extension or swing-away accessory is proposed, put its exact model on the list too.
Thule's hitch-rack fit guidance directs buyers to model-specific information about bumper clearance and how far a rack projects from the vehicle. It also recommends dealer help because receiver positions and vehicle shapes vary. A receiver dimension alone does not settle the complete fit.
Ask the supplier to confirm the entire combination in writing, including whether the carrier is permitted on your van conversion. Do not assume that adding an accessory preserves the original rating or that two products from the same brand are automatically approved together.
Read the van-use limits before adding up the bikes
Compare both the per-bike limit and the total permitted load for the intended use. As one example, the current Thule Epos product page describes a reduced load capacity for motorized RV travel and directs owners to its fitting instructions. This is an example of a condition to check, not a recommendation that this rack fits every Sprinter.
Weigh your bicycles in the configuration that will actually travel. Include baskets, locks and other items left attached. For an electric bicycle, follow the bike and carrier manufacturers' instructions about battery removal and transport rather than assuming a published bicycle weight matches your loaded bike.
The rack and any approved accessory also add weight to the vehicle. Have the installer explain how the complete load fits the vehicle and receiver limits, and check the loaded van against its axle and overall ratings. Our payload guide covers the broader passenger, luggage and equipment calculation.
Try the rear doors with the real load
With the van safely parked and the rack operated exactly as instructed, test the access you need. Can you reach the overnight bags? Does a door clear the handlebars, pedals and carrier? Can you retrieve a leveling block or water hose without first removing both bicycles?
A product photograph showing a car's liftgate opening is not proof that a Sprinter's side-hinged rear doors will clear. Check both doors through the permitted movement, and stop before anything touches. Have the installer demonstrate any tilt or swing feature with the actual bikes, if the product allows that operation while loaded.
Consider the order of arrival tasks. If a carrier blocks the compartment holding your hookup equipment, moving that equipment to another approved storage location may be simpler than changing the rack. Avoid a setup that requires unloading bicycles into a traffic lane just to reach an everyday item.
Check visibility, dimensions and everyday handling
Look from behind the loaded vehicle at the lights and plate, and confirm any required visibility or lighting arrangements with the installer and the relevant authorities. Check the camera view and the instructions for any affected parking-assistance equipment. Do not count on a camera image to show every part of the added load.
Measure the van's overall travel length with the carrier in its traveling position. Keep that measurement with your other dimensions for parking and reservations. If the route includes a crossing, our ferry planning guide explains why booking information needs to reflect attached equipment.
Practice loading and unloading in a roomy, level place. The person who will usually handle the bikes should try the lifting, fastening and release steps. Check that hands can reach the controls without leaning awkwardly across the other bicycle.
Leave with a repeatable loading routine
Use the carrier's instructions to make a short departure checklist: correct mounting, required fasteners and locks, each bicycle secured at the specified points, and loose accessories dealt with. Follow the maker's instructions for inspections during travel and after changes to the load.
Plan where the empty rack will go when it is removed and how you will protect the bikes at an overnight stop. A good fit includes storage and daily use, not just the first successful installation. Bring those details to AutoElite when discussing a specific van so the rear-access arrangement can be part of the buying conversation.
Sources checked October 29, 2026. Recheck current travel conditions and the equipment, labels and manuals for your specific completed vehicle.